Essential Maintenance Tips for Longevity
Owning a Yamaha motorcycle means embracing the responsibility of regular maintenance. To ensure the longevity of your bike, follow these essential tips
Firstly, always consult your Yamaha motorcycle’s owner’s manual. It is your go-to guide for specific maintenance requirements. Keep a log of all maintenance work for future reference. Pay attention to small noises or changes in performance. They can signal bigger issues down the road.
Routine checks are crucial. Inspect your motorcycle before each ride. Look for signs of wear on tires and cables. Check fluid levels often, including brake, coolant, and fuel systems. Make sure lights, horn, and indicators work well.
Regular cleaning goes a long way. Remove dirt, bugs, and debris after rides. This prevents corrosion and maintains your motorcycle’s appearance. Lubricate moving parts regularly, especially the chain and control cables, to prevent them from becoming stiff or rusty.
Lastly, adhere to service intervals stated in your manual. They are designed to keep your Yamaha motorcycle in top condition. Skipping them can lead to costly repairs. Keep your Yamaha running smoothly by following these simple, but effective maintenance tips.
Regular Inspection and Replacement Intervals
To keep your Yamaha motorcycle in peak condition, regular inspections are key. These checks help you catch issues early. They save you from bigger, more expensive fixes later on. Stick to the replacement intervals set out in your motorcycle’s manual. This will ensure each component is at its best.
Start by checking the brake pads. Replace them if they are worn down. Inspect the tire treads and pressure at regular intervals. Replace tires that show signs of excessive wear. Look at the battery terminals. Clean them if you see any corrosion. Test the battery’s charge level, especially before long trips.
Monitor the coolant level and refill it if needed. Change it out at intervals recommended by Yamaha. This keeps the engine cool and efficient. Check the spark plugs. Replace them if they show wear or affect the engine’s performance.
Finally, review the condition of your motorcycle’s drive chain. Adjust it as needed and pay attention to the sprocket’s wear. If they show signs of damage, replace them as indicated in your service manual to prevent unexpected breakdowns. These simple steps can greatly improve the lifespan and reliability of your Yamaha motorcycle.
Oil and Filter Change Procedures
Changing oil and filters is a vital part of Yamaha motorcycle maintenance. To keep your engine running smoothly, change the oil and filter at the intervals specified in your owner’s manual. Here is a simplified process to guide you through these essential steps.
First, warm up your Yamaha motorcycle engine for a few minutes. Warm oil drains faster and more completely. Make sure to turn off the engine and wait for it to cool down slightly before proceeding.
Place a drain pan under the engine. Remove the oil filler cap and then the drain plug. Let the oil drain completely. While it drains, inspect the drain plug and the crush washer. Replace the washer if needed to prevent leaks.
Next, remove the old oil filter. It can be tight, so an oil filter wrench might be useful. Lubricate the seal of the new filter with fresh oil. Then screw the new filter into place. Hand-tighten it; do not over-tighten as it may cause cross-threading.
After the oil has drained and the new filter is on, reinstall the drain plug. Be sure to tighten it to the torque specified in your Yamaha motorcycle manual. Now, add new motorcycle-specific oil. Pour slowly, and check the level with the dipstick or sight glass. Do not overfill as this can harm your engine.
Dispose of the old oil and filter properly. Most auto shops will take used oil for recycling. Remember, regular oil and filter changes prevent engine wear and extend the life of your Yamaha motorcycle.
Brake System Maintenance
Maintaining your Yamaha motorcycle’s brake system is crucial for safety. Regular checks can prevent accidents. Proper brake maintenance ensures your bike stops as intended, every time.
Start by inspecting the brake pads and discs for wear. If the pads thin out, replace them promptly. Look for any scoring or damage on the discs. If you find any, seek professional help.
Examine the brake fluid level in the reservoirs. If low, top it up. Yamaha motorcycles require brake fluid changes at specific intervals. Refer to your manual for the schedule. Use only the type of fluid recommended by Yamaha.
Check brake lines for cracks or leaks. Any issue here can be dangerous. Replace the lines if you spot any damage. Test the brake lever and pedal for firmness. If they feel spongy, air may be in the system. Bleed the brakes to remove air and restore performance.
Lastly, keep the brake system clean. Dirt or oil on brakes can reduce efficiency. Wipe surfaces gently with a clean cloth. Avoid harsh chemicals that can damage brake components.
By following these maintenance tips, you ensure that the brake system on your Yamaha motorcycle functions properly, keeping you safe on the road.
Battery Care and Maintenance
For optimal performance of your Yamaha motorcycle, paying attention to the battery is key. Start with regular checks. Ensure the battery holds a charge and connections are tight. If you find corrosion on the terminals, clean them. A mixture of baking soda and water works well for this task. Rinse with clean water afterwards.
Check the battery’s electrolyte levels if it’s not sealed. Top it up with distilled water if levels are low. Never use tap water; minerals can harm the battery. For maintenance-free batteries, skip this step.
Charge your Yamaha motorcycle battery periodically, especially when not in use. Use a proper motorcycle battery charger for this. It keeps the battery from losing charge and extends its life. Store the battery in a cool, dry place if you’re not riding for a while. Extreme temperatures can damage it.
Replace the battery if it doesn’t hold a charge or is more than three years old. Using a weak battery can strain your motorcycle’s electrical system. Stick to the replacement intervals found in your manual. A fresh battery guarantees reliable starts and proper functioning of electrical systems.
In summary, maintain the battery by keeping it clean, charged, and topped up. Replace as needed based on age or performance. These steps are crucial for your Yamaha motorcycle’s health and your safety on the road.
Chain and Sprocket Service
Your Yamaha motorcycle’s chain and sprockets play a pivotal role in power transmission. Proper care is essential.
Start by checking the chain’s tension during your regular inspections. A loose chain can lead to poor performance. A too tight chain may cause excessive wear. Use the guidelines in your Yamaha manual to adjust the chain.
Clean the chain with a suitable cleaner. Brush off debris and old lubricant. Dry it thoroughly before applying new lubricant. This reduces friction and prevents rust. Remember to lubricate after rides in the rain.
Inspect both the chain and the sprockets. Look for signs of wear or damage. Worn teeth on sprockets or stiff links in the chain can cause problems. Replace them if they are beyond the wear limit. Your owner’s manual will list the specifications for when they need changing.
Align the sprockets and chain correctly. Misalignment increases wear and affects your ride. A well-maintained chain and sprocket set ensures smooth rides and extends your motorcycle’s lifespan.
Air Filter Maintenance
Keeping your Yamaha motorcycle’s air filter clean is essential for good engine performance. A clogged air filter can restrict airflow. This can lead to reduced power and fuel efficiency. It can also cause the engine to run rough. Regular maintenance of the air filter is key.
First, locate the air filter. You will find it detailed in your Yamaha motorcycle’s manual. Remove the filter and inspect it. Look for dirt, debris, and signs of wear. If it appears dirty, clean it according to the instructions provided by Yamaha. Some filters may be paper-based and need replacing, not cleaning.
Cleaning procedures vary. Some air filters require special cleaning solutions. Others simply need a rinse with water. Ensure the filter dries completely before you reinstall it. A wet filter can cause engine problems.
If it’s time to change the air filter, get a replacement that meets Yamaha’s specifications. Install it securely to avoid any air leaks. This can affect the motorcycle’s performance.
Check the air filter more frequently if you ride in dusty or dirty conditions. These environments can clog the filter quicker than normal. Lastly, note the change or cleaning in your maintenance log. This helps keep track of when the next service should happen.
A well-maintained air filter ensures your Yamaha motorcycle breathes easily. It contributes to a longer engine life and optimal performance on the road.
Seasonal and Storage Maintenance Tips
Proper seasonal and storage maintenance ensures your Yamaha motorcycle stays in optimal condition year-round. As temperatures change, so do the needs of your bike. To prepare your Yamaha motorcycle for different seasons and storage periods, here are some key tips to follow.
Check antifreeze levels before winter hits. This prevents freeze damage in cold weather. Consider adding fuel stabilizer if you plan not to use your motorcycle for a few months. This guards against fuel degradation and keeps the engine ready to go. Ensure your bike’s battery is fully charged. For winter storage, connect it to a trickle charger. This maintains charge without overloading the battery.
Clean your Yamaha motorcycle thoroughly before storing it for an extended time. Cover exposed metal parts with a light coat of oil to prevent rust. Store the bike in a cool, dry place, away from direct sunlight. Use a breathable cover to protect it from dust and moisture.
Lubricate cables and controls to prevent them from sticking or rusting. Inflate tires to the proper pressure. This stops them from developing flat spots while sitting. For long-term storage, consider elevating the bike on a stand. This relieves pressure on tires and suspension.
Follow these tips to maintain your ride’s health during different seasons and storage times. They save you time and money on repairs when you’re ready to ride again.
Related Posts
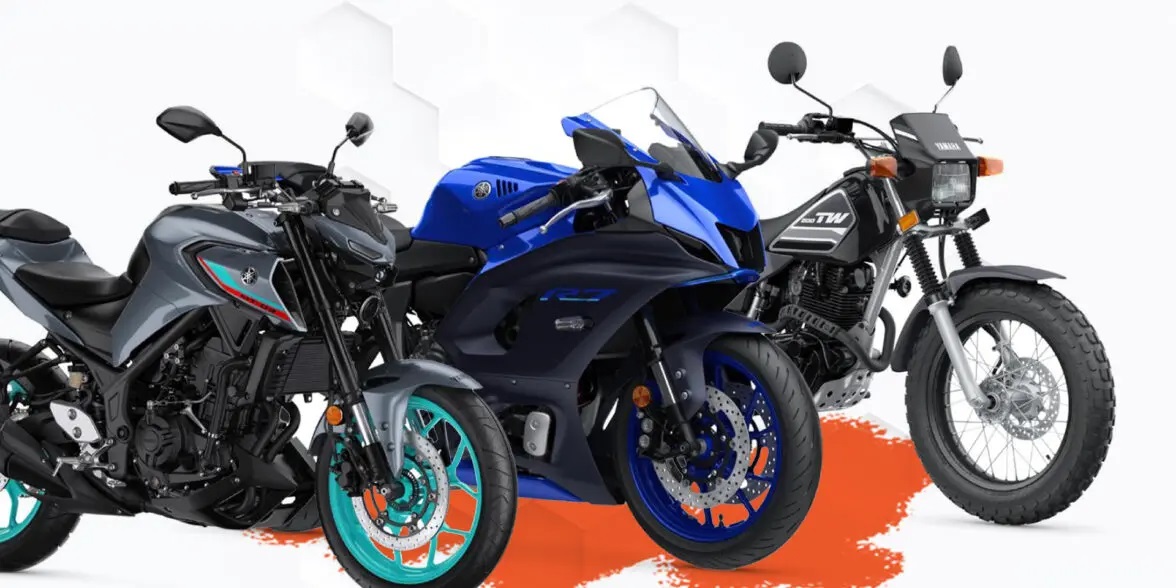
Starting Your Ride: The Best Yamaha Motorcycles for Beginners
Beginning your journey as a motorcycle rider is a thrilling…
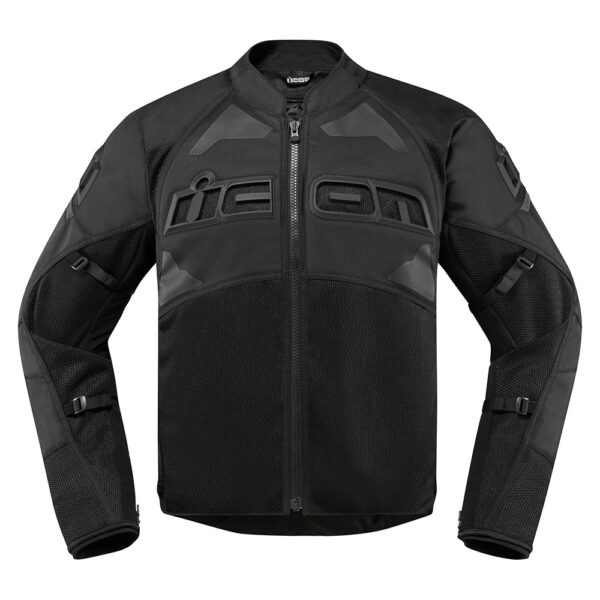
Motorcycle Riding Jacket: Choosing Guide
Introduction to Motorcycle Jackets For many riders, a motorcycle riding…

Do You Need a Motorcycle License to Drive a Slingshot?
Introduction The Polaris Slingshot has gained immense popularity among automotive…